
There’s something deeply comforting about homemade bread quietly baking in the oven, filling the kitchen with warmth and the promise of a nourishing homemade meal. This no-knead bread is made for real life busy afternoons, slow weekends, and those moments when you want something wholesome without overthinking dinner.
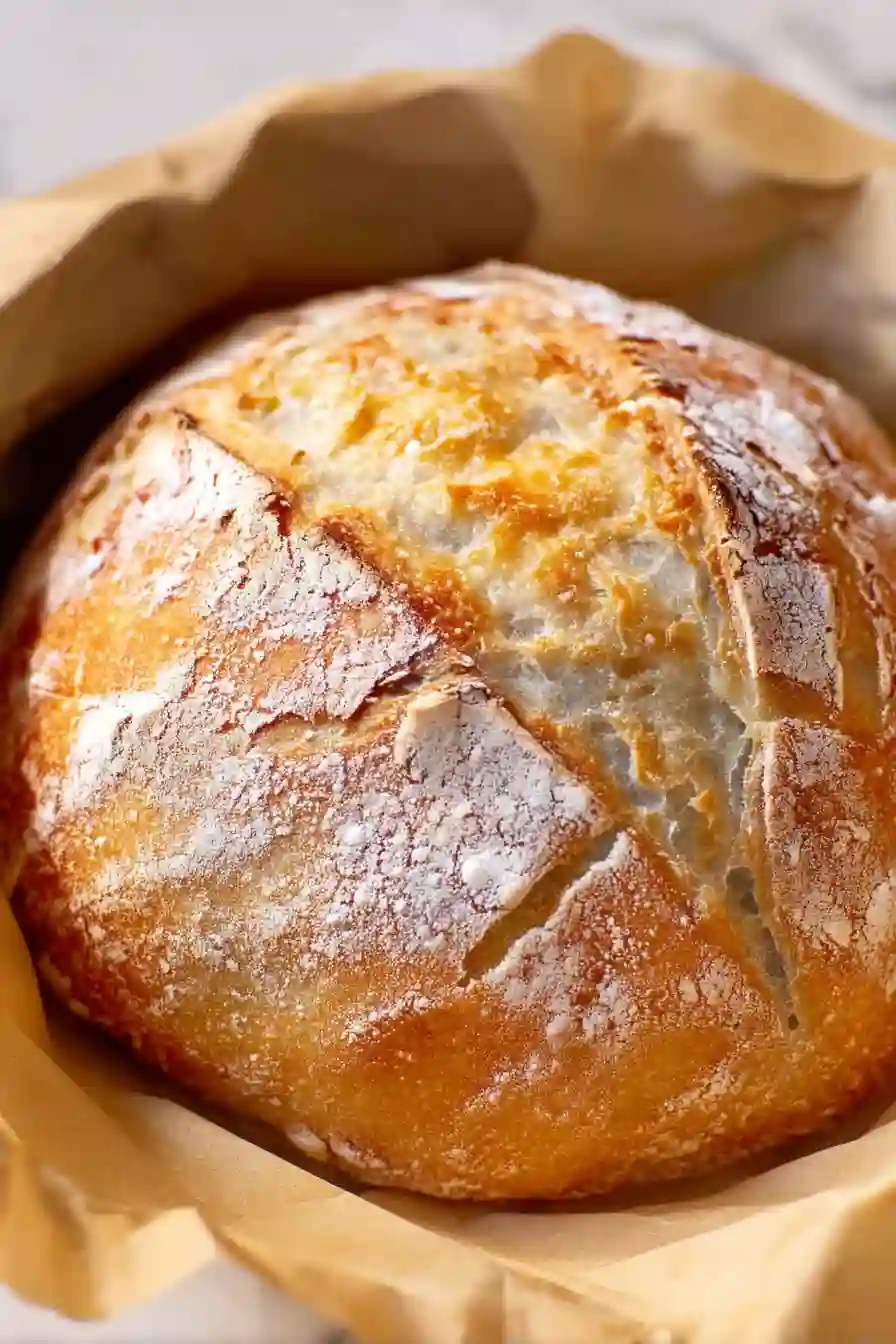
With minimal hands-on time and pantry staples you likely already have, this loaf fits beautifully into balanced comfort cooking. It’s a cozy, budget-friendly dinner companion, perfect for family tables, soup nights, or slicing up for the week ahead when simple meal prep makes life feel lighter.
This is the kind of bread that reminds you homemade doesn’t have to be complicated. Just stir, wait, and let time do the work—rewarding you with a golden crust, soft interior, and that quiet pride that comes from baking something nourishing from scratch.
Table of Contents
Ingredients You’ll Need
Simple Pantry Staples
These everyday ingredients come together to create a surprisingly hearty loaf that feels both comforting and practical.
- Warm water (about 100°F) – Encourages a gentle rise without rushing the process
- Yeast (active dry, instant, or quick rise) – Builds structure and that classic bread flavor
- Fine grain salt – Balances flavor and enhances the crust
- All-purpose or bread flour – Creates a sturdy yet tender crumb
This short ingredient list keeps things budget-friendly while still delivering that bakery-style texture. It’s also easy to adjust for gluten-free alternatives if that fits your household needs.
How to Make It
Step 1: Stir and Let It Rest
In a large bowl, combine the warm water and yeast, then gently stir in the salt and flour. Mix until everything comes together into a shaggy, sticky dough no kneading required. This relaxed start makes the recipe feel approachable, even on busy days when you want something homemade without the extra effort.
Cover the bowl with a clean towel and let it rest in a warm spot. This slow rise creates a balanced texture that feels hearty and satisfying, perfect for a cozy weeknight meal.
Step 2: Shape with Ease
Once the dough has doubled and looks bubbly, lightly flour your hands and work surface. Gently shape the dough into a round loaf no need for perfection here. The rustic look is part of the charm, making it feel like a true family-style comfort bread.
This step is quick and calm, ideal when you’re juggling dinner prep or planning simple meals for the week.
Step 3: Bake Until Golden
Transfer the dough to a parchment-lined baking dish or preheated Dutch oven. Bake until the crust is deeply golden and the loaf sounds hollow when tapped. The result is a bread with a crisp exterior and a soft, nourishing center that pairs beautifully with soups, salads, or protein-packed dinners.
Let it cool slightly before slicing, allowing the interior to set for the best texture.
Cozy Tips & Serving Ideas
- Meal prep friendly: Slice once cooled and store in the freezer for easy breakfasts or quick sides during busy weeks.
- Low-carb balance: Pair smaller slices with high-protein soups or stews to keep meals satisfying without feeling heavy.
- Diabetic-friendly choices: Serve with fiber-rich spreads like avocado or protein-rich toppings to keep things balanced.
- Budget-friendly dinner idea: Use day-old slices for homemade croutons or toast to stretch your grocery budget.
- Family dinner favorite: Set the loaf in the center of the table and let everyone tear into warm slices together.
- Gluten-free adjustments: Swap in a trusted gluten-free flour blend designed for yeast baking if needed.
These small tweaks help this loaf fit effortlessly into a variety of lifestyles, whether you’re cooking for health-focused goals or simply craving comfort.
Final Cozy Thoughts
This no-knead bread is more than just a recipe it’s a gentle reminder that nourishing, homemade food can be simple, affordable, and deeply comforting. Whether you’re serving it alongside a slow cooker healthy dinner or enjoying a slice with butter and quiet moments in the kitchen, it brings warmth to everyday meals.

No Knead Bread
Equipment
- large mixing bowl For mixing and rising the dough
- Dutch oven with lid Helps create a crisp artisan-style crust
- Parchment paper Makes transfer easy and prevents sticking
Ingredients
- 1 1/2 cups warm water (about 100 degrees F)
- 1 packet yeast (active dry, instant, or quick rise) (2.25 teaspoons)
- 1 1/2 teaspoons fine grain salt (preferably not iodized)
- 3 1/4 cups all-purpose flour or bread flour, plus more for dusting
Instructions
- In a large bowl, mix warm water and yeast. Stir in salt, then add flour and mix until a shaggy, sticky dough forms. Cover and let rise until doubled and bubbly (about 1 hour 50 minutes).
- Lightly flour a work surface and your hands. Turn out the dough and gently shape into a round loaf. Place on parchment.
- Preheat oven to 450 degrees F. Bake in a preheated Dutch oven (lid on) for 30 minutes, then remove lid and bake 10 to 15 minutes more until deep golden. Cool at least 20 minutes before slicing.