
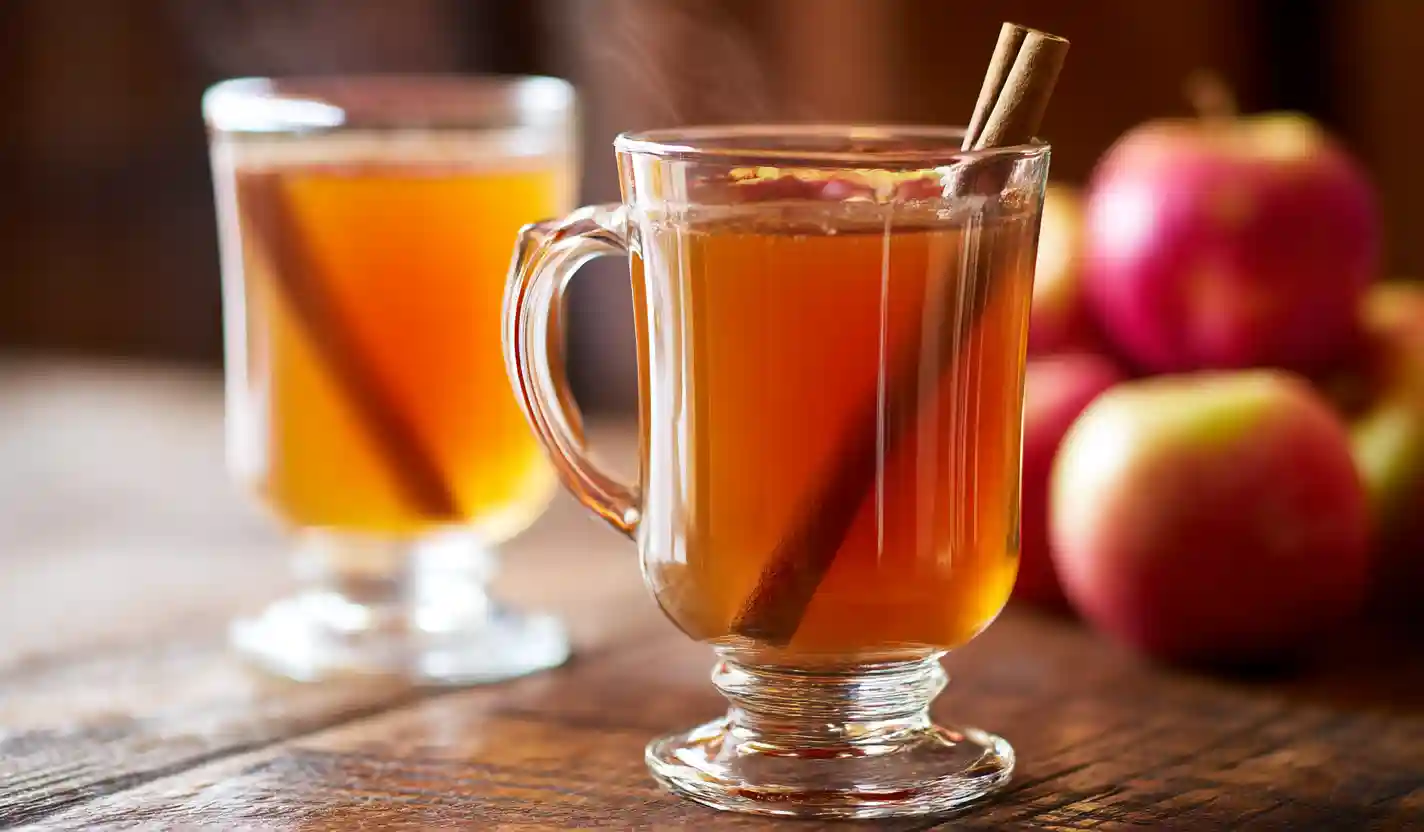
Homemade Apple Cider is a cozy fall drink made by slowly simmering fresh apples with orange, cinnamon, cloves, allspice, and brown sugar. This homemade apple cider has a deep apple flavor, gentle citrus brightness, and warm spice without tasting overly sweet. It is mostly hands-off, makes a generous batch, and can be served hot or chilled.

Why This Cozy Cider Is Worth the Simmer
- Big apple flavor: A mix of sweet and tart apples creates a fuller, more balanced cider.
- Warm but not overpowering: Whole spices infuse the liquid slowly and are strained out before serving.
- Easy for gatherings: One stockpot makes about 8 cups, enough for a small fall get-together.
- Good hot or cold: Serve it steaming from the pot or chill it for later.
Simple Ingredients for Homemade Apple Cider
- Apples: Use a mix of sweet and tart apples, such as Honeycrisp and Granny Smith, for balanced flavor.
- Orange: A halved orange adds brightness and a subtle citrus note.
- Cinnamon sticks: They give the cider its classic warm aroma without making it gritty.
- Whole cloves: A small amount adds deep fall spice.
- Whole allspice: Adds gentle peppery warmth that rounds out the cinnamon and cloves.
- Brown sugar: Light brown sugar sweetens the cider and adds a mild caramel note.
- Water: Simmering water extracts the apple flavor and becomes the cider base.
How to Make Homemade Apple Cider
Step 1: Build the Cider Base

Add the quartered apples, orange halves, cinnamon sticks, cloves, allspice, brown sugar, and water to a large stockpot. Bring to a full boil over medium-high heat, then immediately reduce to a gentle simmer.
Step 2: Simmer Until the Fruit Is Soft

Cover the pot and simmer for 2 hours. The apples should become very soft and the liquid should turn fragrant, amber-gold, and strongly apple-scented.
Step 3: Remove the Orange and Mash the Apples

Lift out and discard the orange halves so the peel does not become too bitter. Mash the softened apples directly in the pot with a potato masher or sturdy wooden spoon to release more juice and flavor.
Step 4: Simmer the Mashed Fruit

Leave the pot uncovered and simmer for 45 to 60 minutes more. The cider should deepen in color and taste concentrated but still pour easily.
Step 5: Strain and Serve

Pour the mixture through a fine-mesh strainer into a clean pot or large heat-safe bowl, pressing gently on the solids to extract the liquid. Discard the solids, taste the cider, and serve warm, or cool and refrigerate for later.
The Best Strainer for Homemade Apple Cider


Homemade Apple Cider
Ingredients
- 10 medium apples about 4 pounds total, washed, cored, and quartered
- 1 medium orange halved
- 3 cinnamon sticks
- 1 teaspoon whole cloves
- 1 teaspoon whole allspice
- 1/3 cup packed light brown sugar
- 10 cups water
Instructions
- Prepare the fruit. Wash the apples thoroughly, remove the cores and any damaged spots, and cut each apple into quarters. Leave the peels on. Halve the orange.
- Build the cider base. Place the apples, orange halves, cinnamon sticks, whole cloves, whole allspice, brown sugar, and 10 cups water in a large stockpot. Bring to a full boil over medium-high heat.
- Simmer the fruit. As soon as the mixture reaches a boil, reduce the heat to maintain a gentle simmer. Cover and simmer for 2 hours, until the apples are extremely soft and the liquid is fragrant and amber-gold.
- Remove the orange and mash. Remove and discard the orange halves. Mash the softened apples directly in the liquid using a potato masher or sturdy wooden spoon.
- Concentrate the cider. Leave the pot uncovered and continue simmering gently for 45 to 60 minutes. The color should deepen and the apple flavor should become more concentrated.
- Strain. Set a fine-mesh strainer over a clean heat-safe bowl or pot. Carefully pour in the cider mixture. Press gently on the apple solids with the back of a spoon to release the liquid without forcing excessive puree through the strainer.
- Serve. Discard the solids. Taste the cider and serve it warm immediately, or allow it to cool before transferring it to an airtight container and refrigerating.





Notes
- For the most balanced flavor, use a combination of sweet and tart apples.
- Honeycrisp, Fuji, Gala, or Golden Delicious pair well with Granny Smith.
- Leaving the apple peels on adds flavor and color; the cider is strained at the end.
- Remove the orange after the first 2 hours so prolonged cooking of the peel does not make the cider bitter.
- Keep the cider at a gentle simmer rather than rapidly boiling it for the entire cooking time.
- The final yield can vary slightly depending on the size of the pot, strength of the simmer, and how firmly the fruit is pressed.
- If the finished cider needs more sweetness, adjust only after straining.
- Refrigerate cooled cider in an airtight container for up to 5 to 7 days.
- Reheat gently over medium-low heat until steaming.
- Freeze in freezer-safe containers for up to 3 months, leaving room for expansion.
Get the Best Apple Flavor Every Time
- Mix apple varieties: Combining sweet and tart apples gives the cider more depth than using only one type.
- Keep the simmer gentle: A steady simmer extracts flavor without reducing the liquid too aggressively.
- Remove the orange before mashing: Long contact with the peel can make the finished cider bitter.
- Do not over-press the pulp: Gentle pressure gives a flavorful, cloudy cider without forcing too much thick apple puree through the strainer.
- Taste before adding more sugar: Apple sweetness varies, so adjust only after straining if needed.
Keep Your Cider Fresh for Later
Cool the cider, transfer it to an airtight container, and refrigerate for up to 5 to 7 days. Reheat only the amount you need in a saucepan over medium-low heat until steaming. For longer storage, freeze cooled cider in freezer-safe containers for up to 3 months, leaving a little headspace for expansion.
Homemade Apple Cider Questions, Answered
What Apples Are Best for Homemade Apple Cider?
A combination of sweet and tart apples gives the best balance. Honeycrisp, Fuji, Gala, or Golden Delicious work well for sweetness, while Granny Smith adds brightness and acidity.
Do I Need to Peel or Core the Apples?
Peeling is not necessary because the cider is strained at the end. Core the apples, remove any damaged spots, and quarter them before adding them to the pot.
Can I Make Apple Cider Ahead of Time?
Yes. Make it a day or two ahead, cool it completely, and refrigerate it in an airtight container. Reheat gently on the stovetop before serving, or serve it chilled.