
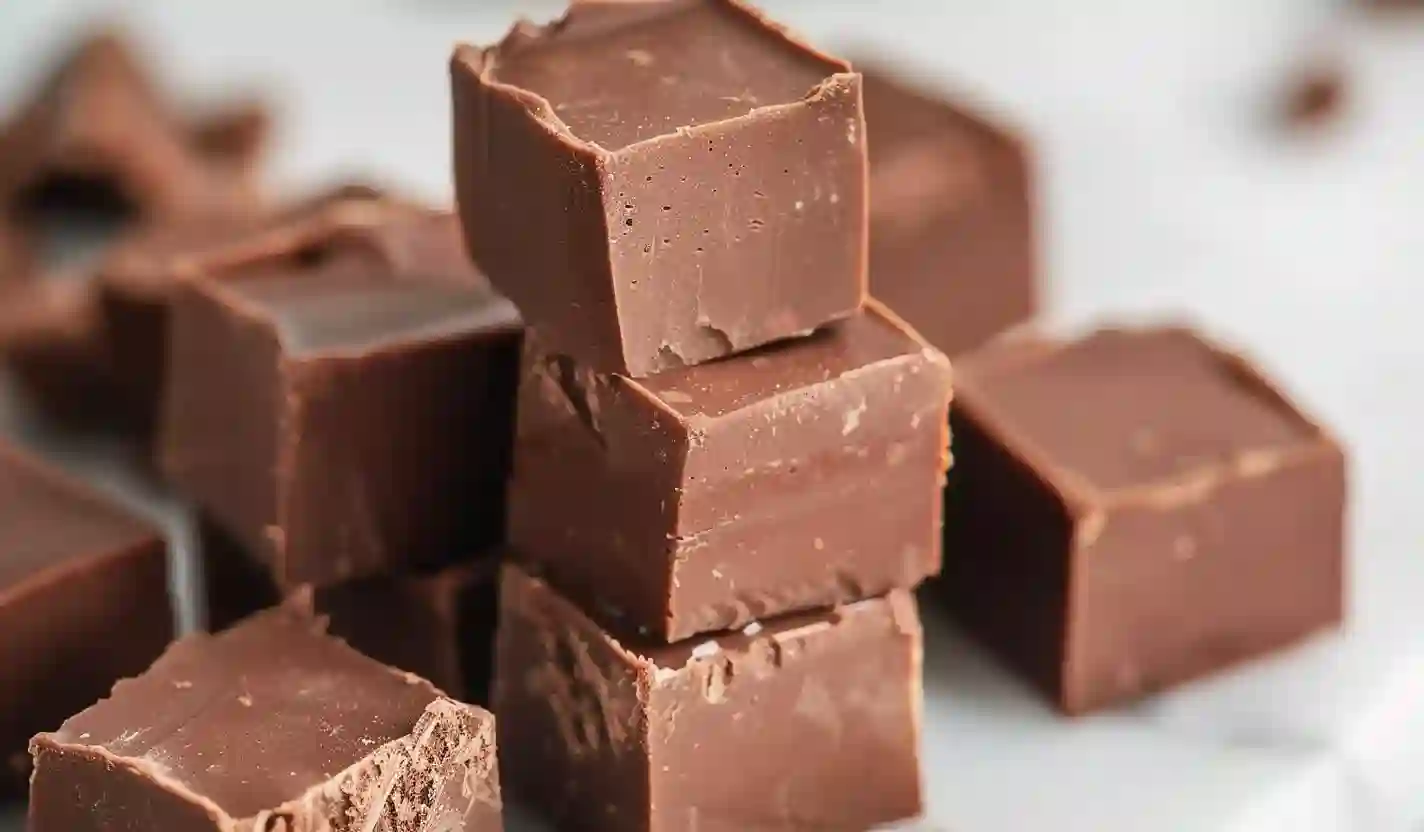
There’s something quietly magical about creamy, chocolatey fudge that first bite, soft but with a little resistance, melting into a swirl of sweet comfort. Whether it’s a chilly evening curled up on the couch, or a cozy gathering with friends, this fudge feels like a little hug in dessert form.

That warm, melting chocolate scent drifting through the kitchen as you stir. The gentle hum of the stove, the shiny ripple of rich chocolate as it smooths into silky perfection. And then that first square, breaking clean, soft and dense, the kind of fudge that almost demands a second piece before the first is even gone.
Let me walk you through how to create that moment. It’s simple, but oh so deeply satisfying.
Ingredients You’ll Need
Here’s what you’ll need to gather. Tiny cozy note: imagine the chocolate gathering on your wooden spoon as you warm it stirring becomes a little ritual of warmth and patience.
- 3 cups of chocolate chips (approx. 18.6 oz) you can use semi-sweet or milk chocolate, whichever feels more comforting to you.
- 14 oz sweetened condensed milk this is what gives the fudge that melt-in-your-mouth richness and keeps it soft and tender.
- 1 teaspoon vanilla extract a gentle whisper of warmth and aroma to round out all that chocolatey goodness.
How to Make It
Step 1: Prepare Your Pan
Line an 8″ × 8″ baking dish with aluminum foil (or two overlapping pieces of parchment paper, forming an “X”). This will make it much easier to lift the fudge out later like wrapping a sweet little gift for yourself or someone you love.
Step 2: Start Melting the Chocolate
In a medium saucepan, combine the chocolate chips and the sweetened condensed milk. Place the pan over medium-low heat.
Stir gently but consistently slow and steady wins the race. You’ll notice the chocolate chips beginning to soften, melting into the milky swirl. As it starts to come together, stir in the vanilla extract.
Step 3: Stir into Silky Smoothness
Keep stirring until the chocolate is completely melted and the mixture becomes glossy, smooth, and luxurious. The surface should glimmer that’s how you know it’s ready. The aroma will deepen, rich cocoa notes filling the air.
Step 4: Pour and Smooth into Pan
Pour the fudge mixture into the prepared baking dish. It will be thick and maybe a bit reluctant that’s totally okay. Don’t stress if it doesn’t flow like a pourable batter; this fudge is meant to be dense and substantial.
Gently shake the pan back and forth to help the fudge settle. Use a rubber spatula to coax it into an even layer, smoothing out the surface as best you can.
Step 5: Let It Set
Let the fudge sit undisturbed at room temperature until it’s fully set about four hours. This is the hardest part: waiting. But it’s worth it.
Step 6: Cut into Perfect Squares
Once set, lift the fudge out of the pan using the foil or parchment “X.” Trim off rounded edges if you like neat squares. Then cut the fudge in half one way, then the other to get four larger squares.
Cut each larger square into 3 smaller slices in each direction you’ll end up with 36 evenly-sized, perfect squares of fudge.
Step 7: Enjoy or Store
Serve immediately for that fresh-made taste. Or store your fudge in an airtight container. It’ll stay soft and delicious for up to two weeks.
If you like, you can wrap pieces individually (wax paper or parchment) a lovely way to share with friends, or treat yourself later.
Fudge Recipes
Equipment
- Medium saucepan For melting the chocolate and sweetened condensed milk together.
- 8×8-inch baking pan Creates the perfect thickness for bite-sized fudge pieces.
- rubber spatula Helps scrape the pan and smooth the fudge evenly.
- Aluminum foil or parchment paper Lines the pan for easy removal of the fudge.
- Sharp knife For cutting clean squares once the fudge is set.
Ingredients
- 3 cups chocolate chips (semi-sweet or milk, about 18.6 ounces)
- 14 ounces sweetened condensed milk
- 1 teaspoon vanilla extract
Instructions
- Line an 8 inch by 8 inch baking dish with aluminum foil or two strips of parchment paper overlapping to form an X, leaving overhang for easy lifting.
- In a medium saucepan, add the chocolate chips and sweetened condensed milk.
- Place the pan over medium-low heat. Stir constantly as the chocolate begins to melt, making sure it does not scorch on the bottom.
- When the chocolate is partially melted, stir in the vanilla extract. Continue stirring until the mixture is fully melted, smooth, and shiny.
- Pour or spoon the thick fudge mixture into the prepared pan. Use a rubber spatula to spread it evenly and gently shake the pan to help it settle.
- Let the fudge sit at room temperature until fully set, about 4 hours, without covering or disturbing it.
- Lift the set fudge out of the pan using the foil or parchment overhang. Remove the lining, trim the edges if desired, then cut into 4 equal squares, and cut each square into 9 small pieces to make 36 squares.
- Enjoy immediately or store the fudge in an airtight container at room temperature for up to 2 weeks. For longer storage, freeze in a sealed container.
Notes
Cozy Tips & Serving Ideas
- Double up the vanilla. If you love deep flavor, try 1½ teaspoons vanilla for a slightly warmer, more aromatic fudge.
- Mix in extras. Once the chocolate has melted, you can fold in small handfuls of chopped nuts (walnuts, pecans, hazelnuts) or even a sprinkle of sea salt on top, for a sweet-salty contrast.
- Serve with something warm. Fudge and a mug of coffee, tea, or hot cocoa especially on a crisp evening makes the world feel slower and softer.
- Great for gifting. Wrap squares in parchment or wax paper, tie with twine nobody will believe how simple it was to make.
- Freeze for later. If you want to keep fudge longer, store it in an airtight container in the freezer. Thaw a piece or two as you please great for surprise treats.
Final Cozy Thoughts
There’s something deeply comforting about homemade fudge the warmth of the kitchen, the simple ingredients coming together, the patient stirring, the slow wait, the final reward. Each square is a little moment of calm, a treat that carries care and sweetness.